
Soap Base
How to make melt and pour Soap?

Oct
What is Melt-and-pour Soap?
Melt-and-pour soap (often referred to as “soap base”) is simply pre-made soap that you can melt down, add scent and colorants to and let harden using your own molds. It’s an easy way to make customized soap at home without handling some of the more caustic chemicals (like lye) or purchasing safety gear. Because it’s already been through the full saponification process (the chemical reaction that makes lye safe for skin) you can enjoy your soap immediately, rather than waiting 4-6 weeks for it to completely cure.
Melt-and-pour soap is especially great for beginners because it allows newly soap makers to focus on the more fun aspects such as scents, colors and designs, without worrying about making soap from scratch.
Making Melt and Pour Soap
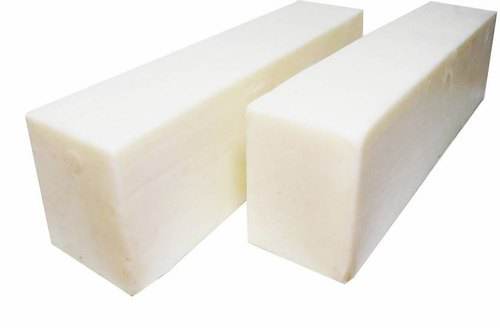
1. Buy a melt and pour soap base
You can find melt and pour soap bases in arts and crafts stores and online. White or clear glycerin are the most popular choices. For a more luxurious bar of soap, try one of the following melt and pour soap bases: goat’s milk, olive oil, or shea butter.
- Do not use a plain bar of soap for this; it is not the same thing and it will not melt easily.
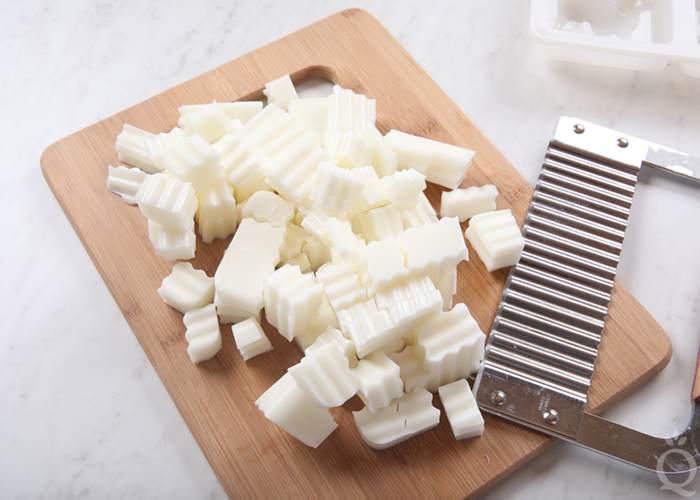
2. Cut the soap base into 1-inch crumbs with a clean and sharp knife or a soap base cutter
The size and shapes of the crumbs do not have to be exact. Cutting the soap into crumbs will simply help it melt faster and smoother.
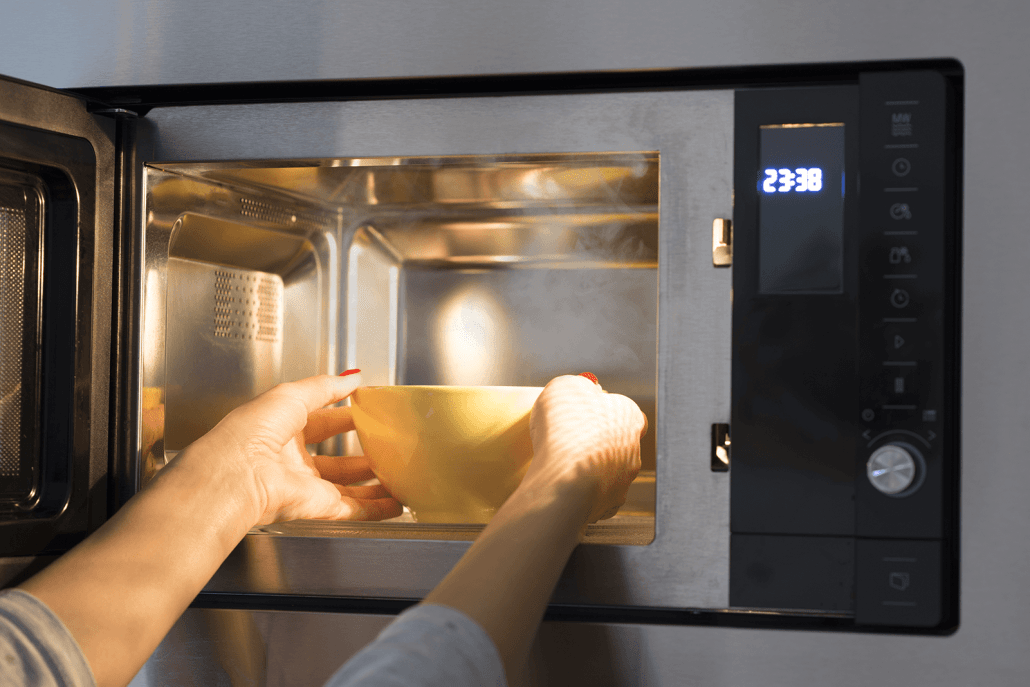
3. Melt the soap base in the microwave
Place the soap crumbs into a microwave-safe dish. Heat the crumbs at 30-second intervals, stirring between each one, until they are melted. The melted base should be smooth and liquid-y, with no lumps or crumbs. If you don’t have a microwave, then do the following:
- Fill a saucepan with 2 inches of water.
- Set a glass, heat-safe bowl on top.
- Place the soap into the bowl and bring the water to a simmer.
- Allow the soap to melt over low heat, stirring it occasionally.
4. Allow the soap base to cool to 120°F (49°C)
Once the soap has melted, set it down on the counter, and allow it to cool of slightly If you melted the soap over the stove, take the bowl off of the saucepan, then set it down onto a heat-safe surface.
5. Stir in soap making dye or pigment powder, if desired
Use ⅛ teaspoon of dye or pigment powder per 1 pound (450 grams) of soap. You can add more later, if you want, but be aware that it may stain your skin.
- If you are using pigment powder, stir it into 2 to 3 teaspoons of liquid glycerin first, then add the glycerin to the soap base.
- If you are using liquid dye, 3 to 6 drops will be enough for 1 pound (450 grams) of soap.
- Make sure that you use dyes made for soap making. Other types of dye, such as candle dye, are not skin safe.
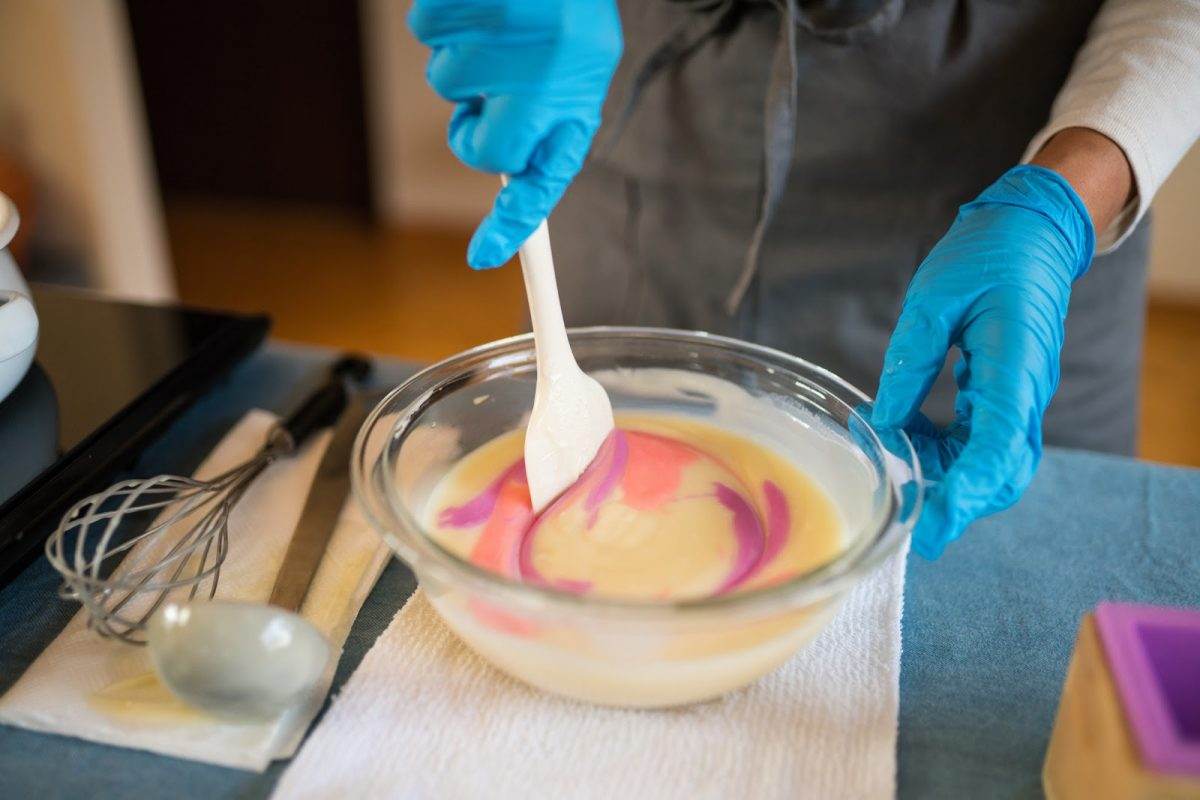
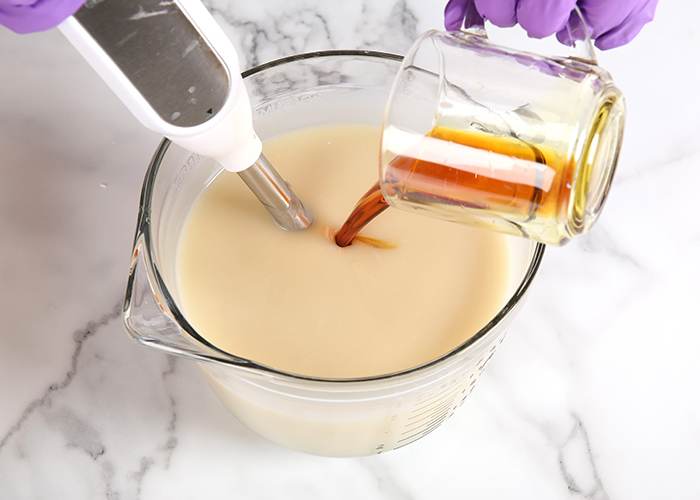
6. Stir in some fragrance oils or essential oils, if desired
You can combine different oils to create a unique fragrance, or you can use just one type. Once again, make sure that you use oils that are either safe to use on skin or are labeled for soap making. Do not use candle fragrance oils, as they can irritate the skin. Listed below are the recommended amounts:
- Fragrance oil: 1 tablespoon (15 milliliters) total per 1 pound (450 grams) of soap.
- Essential oil: ½ tablespoon (7.5 milliliters) total per 1 pound (450 grams) of soap.
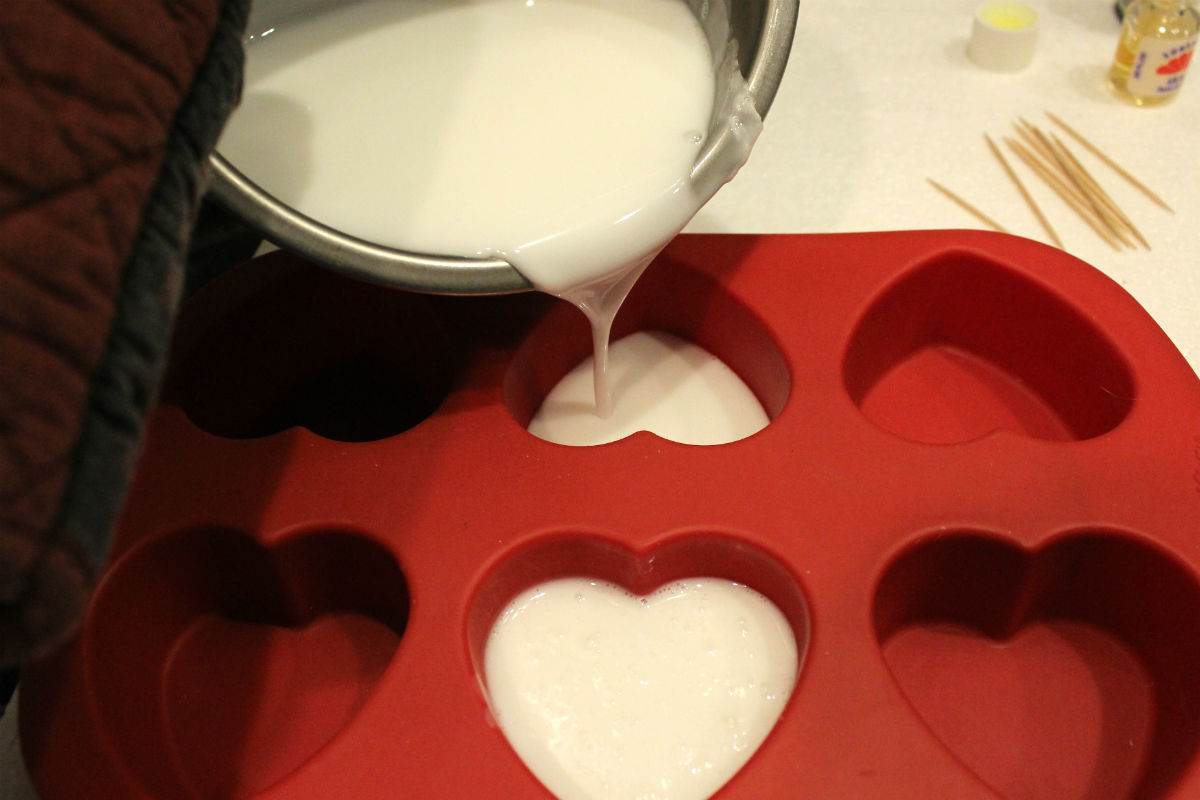
7. Pour the soap into your desired soap making molds
You can find soap making molds alongside the other soap making supplies in the arts and crafts store. You can get them in either plastic or silicone. If you can’t find any, you can use silicone baking, chocolate, or cupcake molds instead.
- You can use a larger, traditional mold, if you want to, but you will need to cut the soap into slices after you de-mold it.
- If you are using a plastic soap making mold, you may want to coat the inside with petroleum jelly.
8. Gently tap the mold
This will send any air bubbles to the surface. If you see air bubbles, lightly spray the surface of the soap with rubbing alcohol.
9. Allow the soap base to cool for 12 to 24 hours
Do not get impatient and put it into a fridge or freezer.
10. Release the soap from the mold.
Gently pull the edges of the mold away from the soap, then turn the mold upside-down, and pop the soap out. If the soap gets stuck in the mold, stick it in the freezer for 15 to 30 minutes, then rinse the outside of the mold under hot water for a few seconds.
- If you used one big mold, you will need to cut the soap into smaller bars/slices after you remove it from the mold.
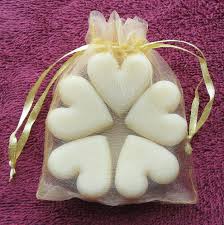
11. Allow the soap to finish drying, if needed
Unlike traditional cold or hot process soap, melt and pour soap is ready to use. This is because it has already been saponified and does not need to be cured. The edges may still be damp after you remove it from the mold, however. If this happens, simply let it sit out on a wire cooling rack for about an hour or so.